

A Beginner’s Guide to DIY Invitations
If you’re an artist and you’d like to create unique, personal invitations, consider DIY invitations. Here’s a chance to put your personal vision on your event and showcase your artwork at the same time. But where do you start?
The first stage of DIY invitations is to do your research. As each stage comes with a set of choices, you will have to make some decisions before you set out to buy supplies. What kind of printing do you want? What kind of paper will you use? Will you be drawing, painting, or using a photograph?
Selecting the Paper
A crucial question you should ask yourself is “What do you want your invitation to feel like?” Design is crucial, but the feel of your invitation will make a difference too.
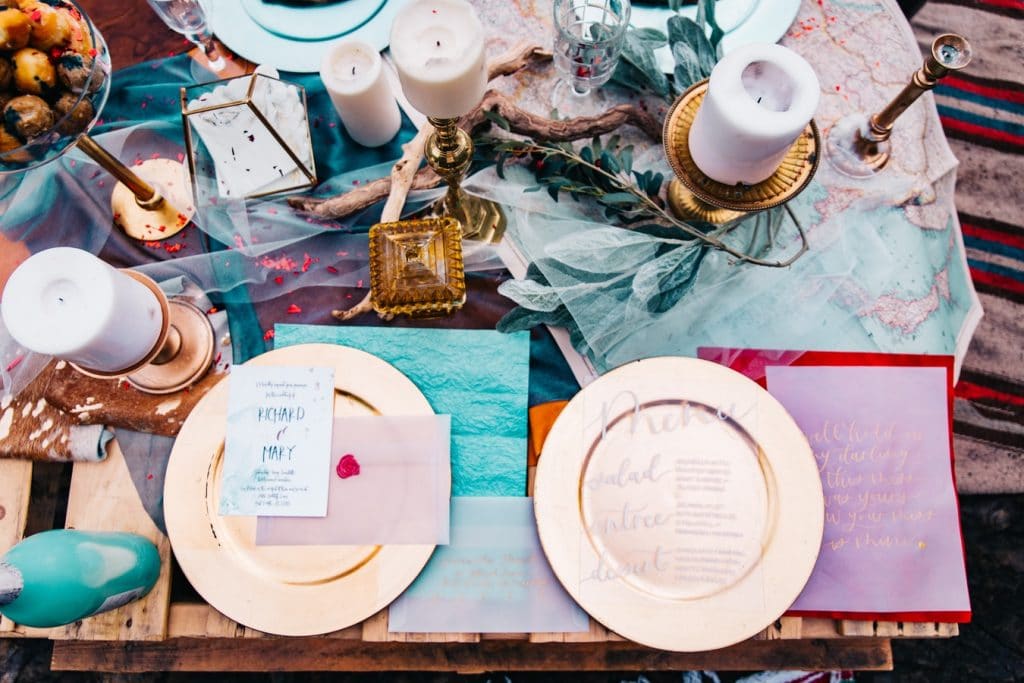
Paper products are really an art in themselves. The kind of paper you use should go hand in hand with the artwork on the cover. Linens and specialty papers can easily be found at arts and crafts stores or online.
When selecting paper, heavier cardstock is probably better. Aim between 80-pound cardstock to 110-pound cardstock for your invitations. For textures, there are options like linen, cotton, wood grain or even metallic.
And there are paper finishes too, like embossed, smooth, recycled, coated, or uncoated. All these details will play heavily into exactly what your invitation will look like and feel like.
Printing Your Invitations
After you have a basic sketch of your invitation, one of the first decisions you’ll need to make is how you will print the invitations and where.
- Letterpress: the letterpress style of printing, also known as relief printing, is where your images and text are on a raised surface, much like a rubber stamp. Ink is applied to the raised surface, and the paper is then pressed against the surface. This kind of printing delivers beautiful results.
- Local print store: the local print stores can usually give you exactly what you want if you’re detailed enough. Show them your design, and ask them to print you a sample.
You can even bring in your own paper to print on. If you are a photographer or a painter and you are using your own artwork, make sure the colors are printed correctly.
- Do it at home: if you have a quality inkjet printer at home that can print well, another option is to simply print each invitation yourself. It makes it incredibly personal, doesn’t it?
Test prints are important here too. You can go all black or have splashes of color. Make sure that the quality is exactly what you want and that your printer can handle the card stock you’ve selected.
Designing Your Invitation
Creatively, the design is the most important part. Here’s your chance to put your personal mark on your invitations. You can use your drawing, your beautiful watercolor painting, your photograph, or your graphic-design skills. The beauty of this stage is that it can be incredibly personal and specific.
If you are using artwork, make sure the quality of the artwork is maintained at the printing stage. When drawing, go heavy on the ink. If your painting or photograph is in color, make sure the colors don’t look washed out. Your calligraphy shouldn’t bleed.
When people think of DIY invitations, it’s usually just wedding invitations that come to mind. However, there are different events that DIY invitations would be perfect for. Think of kids’ parties. If your child wants to create artwork for their party, a DIY invitation would be great.
Trimming Your Invitations
There are two options when you need to cut your invitations down to the right size. You can easily order your paper in that size or you can buy an affordable paper cutter and do the job yourself.
Don’t Forget the Envelopes
Your envelopes shouldn’t be an afterthought. They should fit into the theme and style of your invitations. Your local print store can probably print a design on your envelopes. Or once again, you can print the text on each envelope at home. As with your invitations, make your envelopes unique.
The paper quality of your envelopes is important too. When selecting the paper style for your invitation, choose an envelope in the same style. You really don’t want a mismatch at this stage.
Keep in mind that, when you send out your invitations, they should fit in your envelopes. Most invitations go out in classic A7 envelopes, so you may want to have one of these envelopes with you when you’re deciding on the size of your invites.
Flex Your Creative Muscles
It’s true that DIY invitations can be significantly cheaper than buying a pack of them in a store or online, but what these invitations truly bring to the table is a chance to be creative, personal and different.
Once you do the research and give it a go, you’ll realize that you can create DIY invitations for just about any future event in your life.
Photo URL: https://unsplash.com/photos/MO05fXiDobo
